

A step by step video on how I built a home made pizza oven using a pizza oven kit. The base was the hardest part. It’s been 10 years now, and I’ve used it so many times, the BBQ is now covered in dust.
Once you have your own wood fired oven, you never look back.
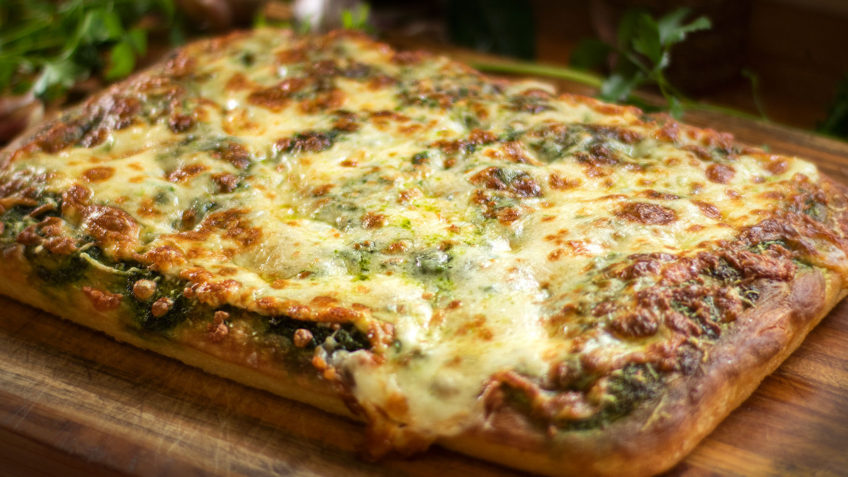
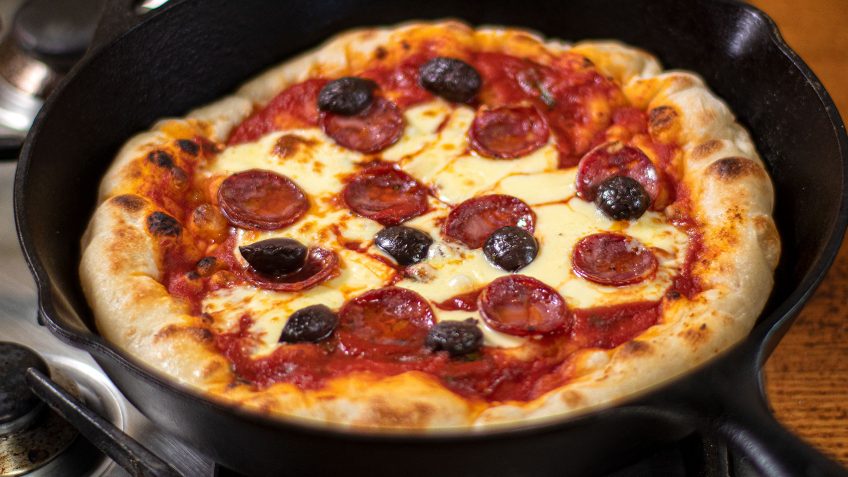
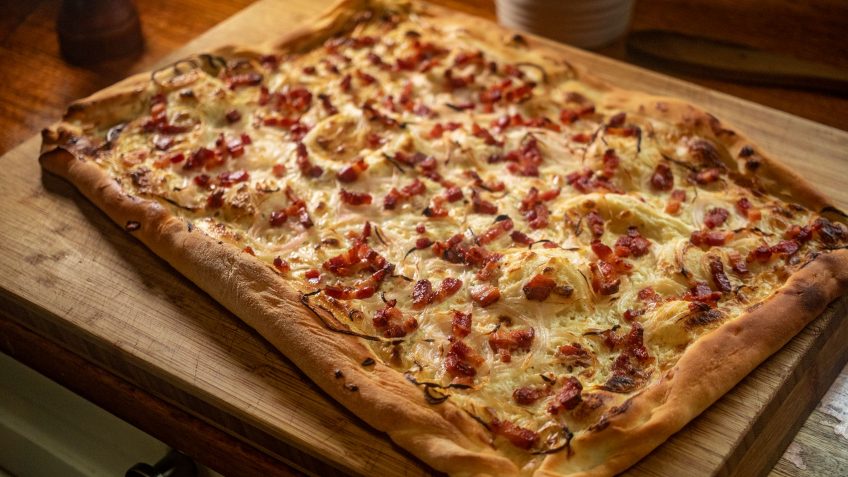
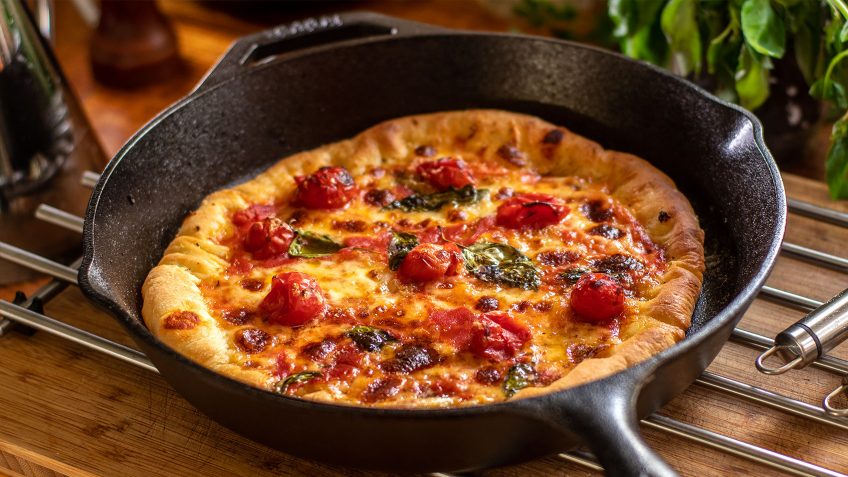
Ten years later (see it in action with pizza recipes)

I added the timber door with magnets for wood storage and tiled the top bench with dark tiles to avoid sun glare when looking into oven.
Pizza oven is still going strong. I added a second layer of rendering and painted the surface to seal out the moisture.
I also rendered each wall of the base and added some fancy tiles around the bench top.

After using it in the evening, the next morning the temperature is still 160C – 320F. It doesn’t take much to fire it again for breakfast! When the oven reaches a hot temperature, all the black disappears exposing the light coloured clay you can see inside.

It’s the best investment I ever made and nothing compares to the joy it brings friends and family. I highly recommend one. Check with your local council prior to building should a permit be required. Also notify your insurance company and don’t build it underneath trees. Enjoy!
Please, let me know your thoughts in the comment box below.

You must be logged in to post a comment